These instructions are intended for staff of Meridian School, not student devices.
There are a couple of ways to add printers on your staff macOS computer.
Under the Apple menu, open the System Preferences (or System Settings on macOS Ventura computers). Open the Printers & Scanners settings. Click the '+' sign in the lower left of your list of previously added printers. On the latest version of the macOS, Ventura, you may see an 'Add Printers, Scanners, or Fax' button instead of the '+' sign. Either one will present you with a similar window below
The most reliable way is by adding the printer via the IP address, NOT by clicking on a printer from the list of printers in this screenshot:
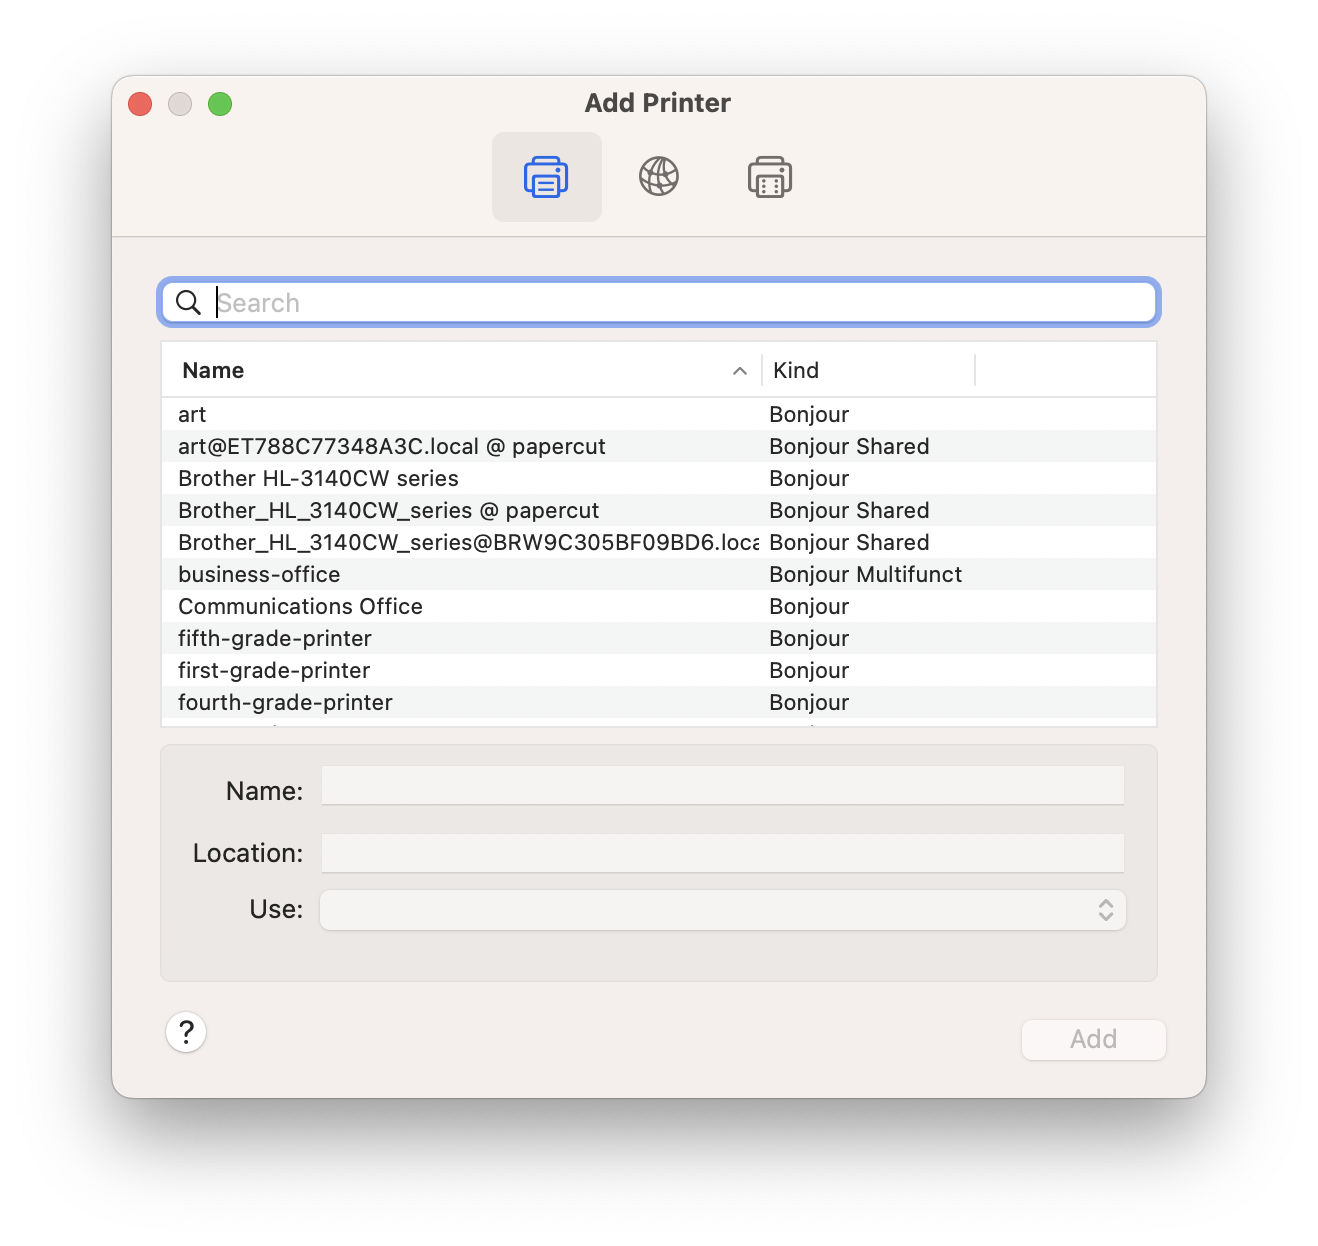
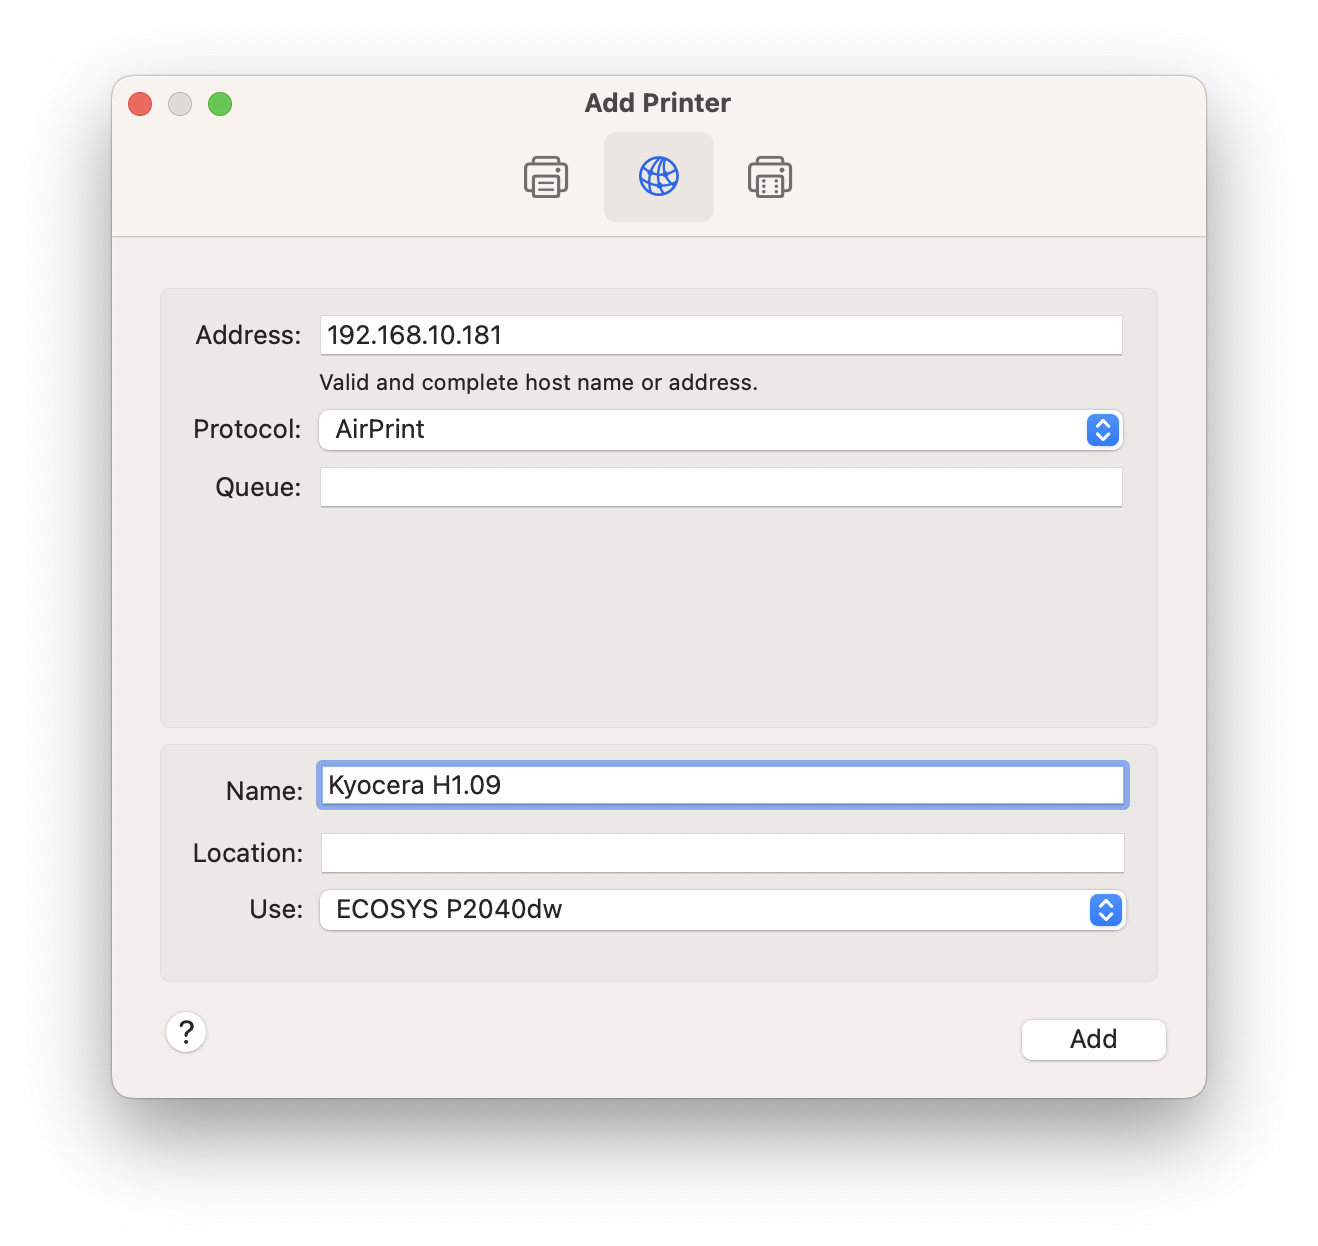
Instead, click on the Globe icon, as shown in the screenshot below, and add the printer using its IP address. A list of IP addresses that Meridian printers use is linked below.
The 'Protocol' drop-down should be set to AirPrint. Once you enter the IP address in the Address field, the computer will reach out over the network and query the printer for details.
The last drop-down menu, 'Use', is the driver menu. The appropriate setting here is either AirPrint, or the actual name and model of the printer.
After it finishes querying the printer, In the Name field, put in the room number where the printer is located. In this example, room H1.09.
If you see 'Generic Postscript Driver' in the Use field, contact Meridian IT support for additional assistance.
Click here for a list of Meridian printer IP addresses.
This spreadsheet is a work-in-progress. If you cannot find your printer in this list, please contact Meridian IT support.